Dec . 06, 2024 18:33 Back to list
how to make a satin head scarf
How to Make a Satin Head Scarf
Satin head scarves are not only stylish but also serve practical purposes, such as protecting hair from damage and retaining hairstyles. If you've been looking to add a touch of elegance to your wardrobe or simply want a solution for your hair care routine, making your own satin head scarf can be a rewarding and cost-effective project. In this article, we will guide you through the process of creating a beautiful satin head scarf.
Materials Needed
Before you start, you'll need to gather a few materials
1. Satin Fabric Choose a fabric that feels good against your skin. You can find satin in a variety of colors and patterns, so pick one that resonates with your style. 2. Measuring Tape To measure the dimensions of your scarf accurately. 3. Scissors For cutting the fabric. 4. Sewing Machine or Needle and Thread Depending on whether you want a quick sew or a hand-stitched finish. 5. Iron To smooth out the fabric before and after sewing. 6. Pins To hold the fabric in place while you sew.
Step-by-Step Instructions
Step 1 Measure and Cut the Fabric
Decide the size of your head scarf. A common size for a head scarf is approximately 20 inches wide by 60 inches long, but you can adjust it as you prefer. Use the measuring tape to mark the dimensions on the satin fabric, then carefully cut it out using your scissors. Remember to handle satin with care, as it can fray easily.
Step 2 Prepare the Edges
how to make a satin head scarf
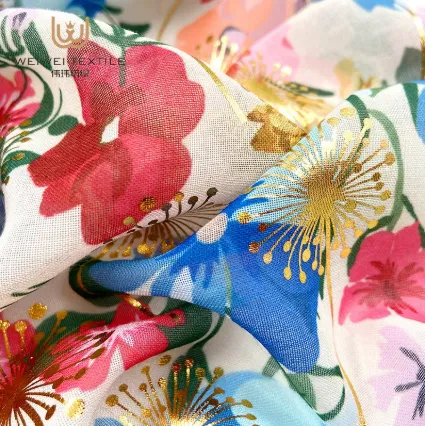
To prevent fraying, you will need to finish the edges of your scarf. You can do this by folding the edges over about a quarter of an inch and pinning them down. This will create a clean hem. If you have a sewing machine, use a straight stitch to sew along the edge, making sure to remove the pins as you go. If you are hand-sewing, a simple running stitch will also work.
Step 3 Iron the Scarf
Once you have sewn the edges, it’s time to iron your scarf. Set your iron to a low heat setting suitable for satin. Gently press the fabric to remove any wrinkles, but avoid applying too much pressure to prevent damaging the fabric. This step is crucial as it gives your scarf a professional finish.
Step 4 Styling Your Scarf
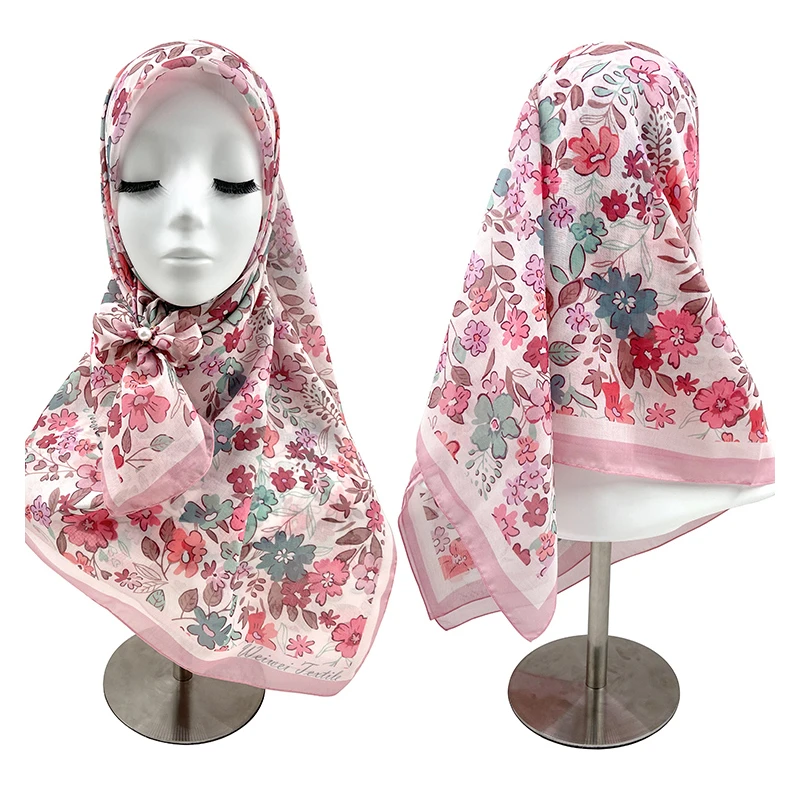
Now that your satin head scarf is complete, it’s time to style it. There are several ways to wear your scarf, depending on your outfit and mood. You can tie it around your head as a classic headband, wrap it around a bun, or even use it as a neck scarf for an added touch of sophistication. Experiment with different styles to find what looks best on you.
Tips for Maintenance
Satin is a delicate fabric, so proper care is important. Always hand wash your scarf in cold water with a gentle detergent, and avoid wringing it out. Instead, lay it flat to dry or hang it to avoid wrinkles. Always store your scarf in a dry, cool place to maintain its quality.
Conclusion
Making a satin head scarf is a straightforward and enjoyable DIY project that enhances both your style and hair care routine. With just a few materials and steps, you can create a custom accessory that reflects your personality. So gather your supplies, let your creativity shine, and enjoy your beautiful new satin head scarf! Whether you're dressing up for a special occasion or looking for something chic for your daily routine, this scarf is sure to impress.
-
Traditional Tudung Designs in Malaysia
NewsJul.25,2025
-
The Spiritual Significance of Satin in Muslim Attire
NewsJul.25,2025
-
The Right Way to Wear Arab Scarves for Muslim Women
NewsJul.25,2025
-
Zikr Bead-Infused Cotton Voile for Continuous Remembrance
NewsJul.11,2025
-
The Cultural Significance of Tudung in Malaysia
NewsJul.11,2025
-
Satin Hijabs as an Expression of Faith in Daily Life
NewsJul.11,2025


