Your Trusted 24 Hours Service Provider!


Feb . 15, 2025 02:49 Back to list
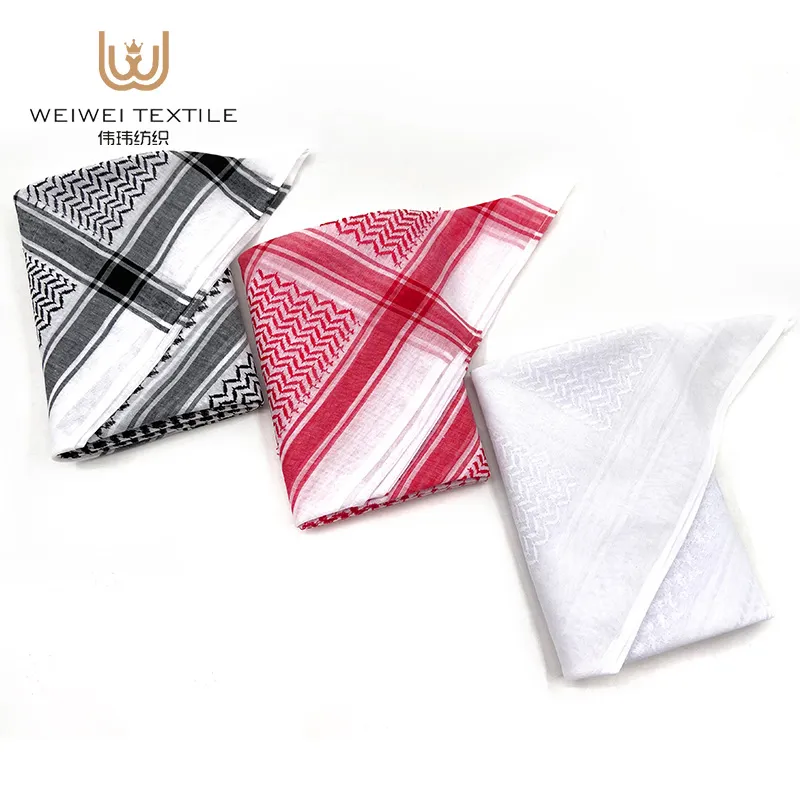
satin bandana scarf
Creating a satin head scarf, a timeless fashion accessory known for its versatility and smooth texture, can be a rewarding experience. As someone with years of expertise in textile crafts, I'm excited to guide you through crafting your own satin head scarf, ensuring both practicality and style, while leveraging content suited for SEO optimization.
Sew along the creased edges carefully. For added durability and a professional touch, consider adding a rolled hem, which elegantly tucks excess fabric inside and out of sight. Keep your stitches even, as tidy sewing not only contributes to the durability of the scarf but also enhances its aesthetic appeal. Once hemmed, consider any embellishments. Adding decorative elements like tassels, beads, or embroidery can elevate your satin scarf, transforming it from a simple head wrap to a fashion statement. These elements should be securely attached to withstand regular wear and care. However, ensure your additions are lightweight to prevent altering the scarf's natural flow and comfort. When your scarf is complete, think about the care it will need. Satin requires gentle handling, so educate yourself and potential users about proper washing techniques. Ideally, hand-wash in lukewarm water with mild detergent, or if machine-washing, use a delicate cycle and a protective laundry bag. This maintains the fabric's integrity and prolongs the scarf's lifespan. Making a satin head scarf at home not only allows for customization but also fosters a deeper appreciation for the craftsmanship involved. By selecting quality materials and employing careful sewing techniques, the resulting accessory can provide both aesthetic pleasure and practical use. Such a project also stands as a testament to one's creativity and attention to detail, traits highly valued by anyone interested in personal fashion and accessories. As this elegant and useful accessory becomes a part of your collection, know that its craftsmanship reflects a commitment to quality and style. A satin head scarf is more than just a piece of fabric; it’s a personal statement and a symbol of conscientious care for both style and hair health.
Sew along the creased edges carefully. For added durability and a professional touch, consider adding a rolled hem, which elegantly tucks excess fabric inside and out of sight. Keep your stitches even, as tidy sewing not only contributes to the durability of the scarf but also enhances its aesthetic appeal. Once hemmed, consider any embellishments. Adding decorative elements like tassels, beads, or embroidery can elevate your satin scarf, transforming it from a simple head wrap to a fashion statement. These elements should be securely attached to withstand regular wear and care. However, ensure your additions are lightweight to prevent altering the scarf's natural flow and comfort. When your scarf is complete, think about the care it will need. Satin requires gentle handling, so educate yourself and potential users about proper washing techniques. Ideally, hand-wash in lukewarm water with mild detergent, or if machine-washing, use a delicate cycle and a protective laundry bag. This maintains the fabric's integrity and prolongs the scarf's lifespan. Making a satin head scarf at home not only allows for customization but also fosters a deeper appreciation for the craftsmanship involved. By selecting quality materials and employing careful sewing techniques, the resulting accessory can provide both aesthetic pleasure and practical use. Such a project also stands as a testament to one's creativity and attention to detail, traits highly valued by anyone interested in personal fashion and accessories. As this elegant and useful accessory becomes a part of your collection, know that its craftsmanship reflects a commitment to quality and style. A satin head scarf is more than just a piece of fabric; it’s a personal statement and a symbol of conscientious care for both style and hair health.
Perv:
Next:
Latest News
-
Xinji Weiwei Textile Factory to Exhibit at the 139th Canton Fair
NewsApr.15,2026
-
Abaya Robe: Tradition, Elegance, and Daily Cultural Expression
NewsApr.15,2026
-
Satin Scarves and Hijabs: A Reflection of Tradition, Elegance, and Daily Practice
NewsApr.15,2026
-
Chiffon Scarf Hijab: A Blend of Tradition, Style, and Everyday Practice
NewsApr.15,2026
-
Exploring Hijab Fashion in Malaysia: Tradition, Style, and Daily Cultural Practice
NewsApr.15,2026
-
The Cultural Significance and Style of Voile Scarves and Shawls in Daily Muslim Wear
NewsApr.15,2026