Oct . 17, 2024 03:04 Back to list
how to make a chiffon scarf
How to Make a Chiffon Scarf
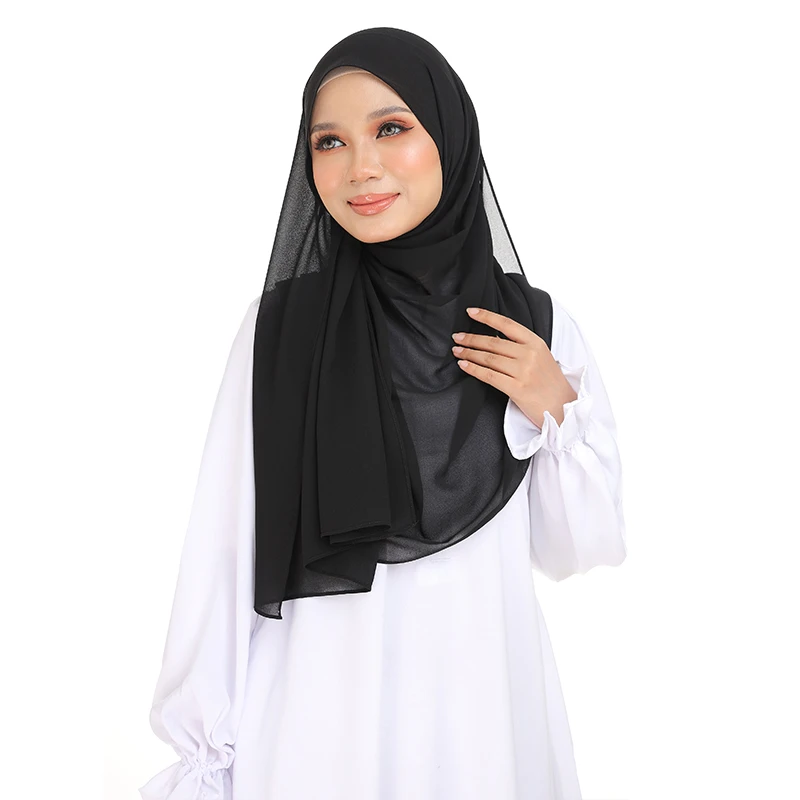
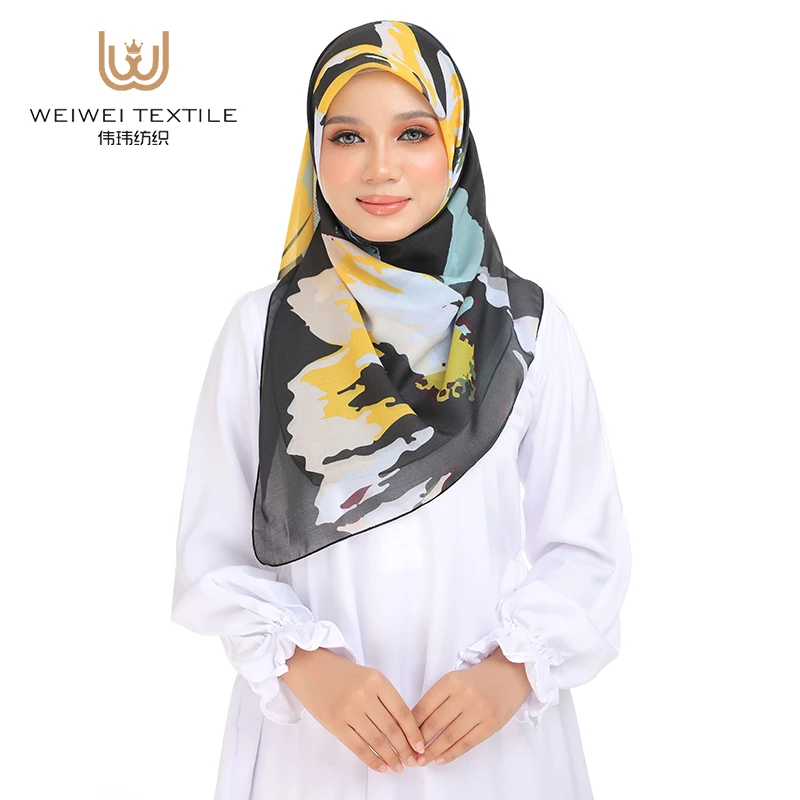
Chiffon scarves have become a popular accessory in the fashion world due to their lightweight, airy feel and elegant drape. Whether you're looking to add a pop of color to your outfit or keep warm on a chilly day, a chiffon scarf is versatile enough to be worn in various styles. Making your own chiffon scarf can be a rewarding project, allowing you to choose the perfect color, pattern, and size that suits your style. In this article, we will walk you through the steps on how to make your very own chiffon scarf.
Materials Needed
Before you begin, gather the following materials
1. Chiffon fabric (about one yard, but you can adjust depending on your desired length and width) 2. Fabric scissors 3. Sewing machine (or needle and thread if you prefer to sew by hand) 4. Measuring tape 5. Fabric pins 6. Iron and ironing board 7. Fray check or fabric sealant (optional)
Step 1 Choose Your Fabric
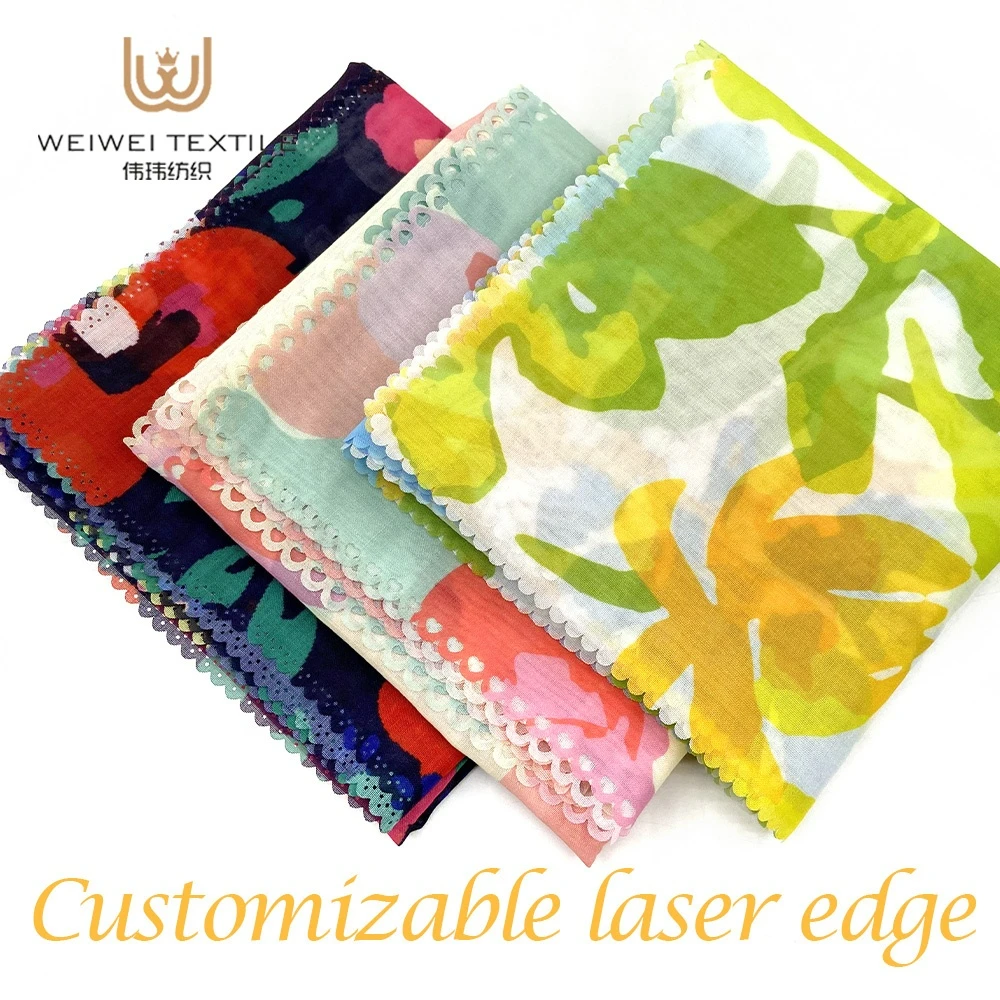
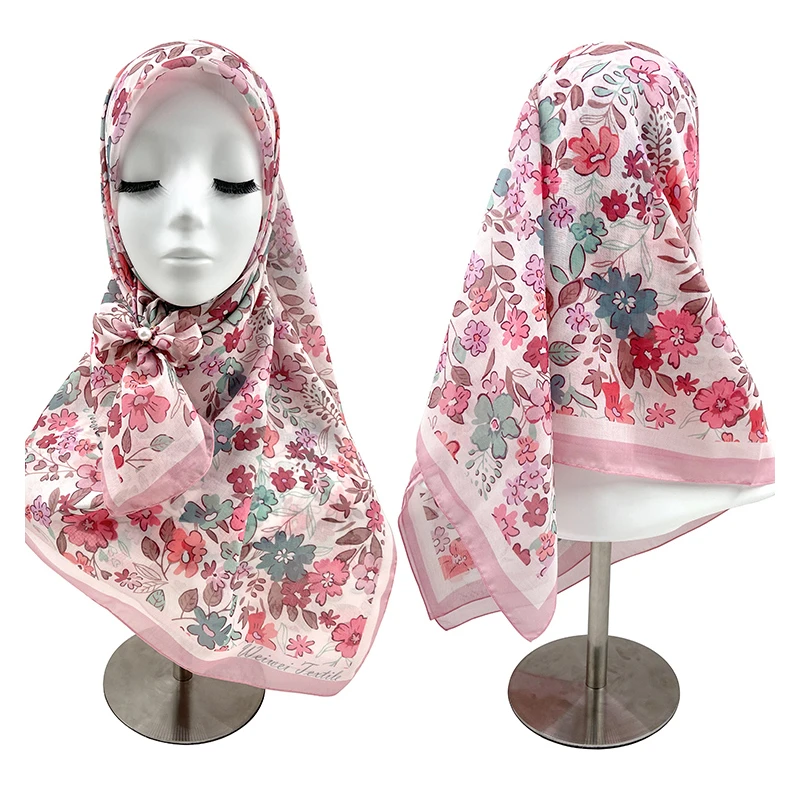
The first step in making a chiffon scarf is selecting the right chiffon fabric. Chiffon comes in various colors and patterns, so take your time to choose one that speaks to you. Whether you prefer a solid color, floral pattern, or geometric design, the options are plentiful. When selecting fabric, opt for high-quality chiffon for a luxurious feel and durability.
Step 2 Measure and Cut
Once you have your chiffon fabric, it’s time to measure and cut. For a standard scarf size, aim for dimensions of approximately 12 inches wide by 70 inches long, but you can adjust this based on your preferences. Use the measuring tape to mark your desired dimensions on the fabric. Pin the fabric to prevent it from shifting while you cut. Carefully cut along the lines you’ve marked, ensuring that your edges are as straight as possible for a clean finish.
Step 3 Hem the Edges
how to make a chiffon scarf
Chiffon is a delicate fabric that can fray easily, so it’s essential to hem the edges of your scarf. You can use a sewing machine for efficiency or hand-stitch if you prefer. To hem the edges
1. Fold over each edge of the fabric about ¼ inch and pin it in place. 2. Iron the folds to create a crisp edge. 3. Sew along the folded edge, removing the pins as you go. If you’re using a sewing machine, be sure to use a straight stitch to keep it neat.
Alternatively, you can apply fray check to the edges if you prefer not to sew, but hemming is recommended for a polished look.
Step 4 Iron the Scarf
After you have hemmed all edges, it’s time to iron your scarf to remove any wrinkles and achieve a smooth finish. Set your iron to a low heat setting suitable for chiffon fabric, as high temperatures can damage it. Gently press the iron over the scarf, being careful not to stretch the fabric.
Step 5 Style Your Scarf
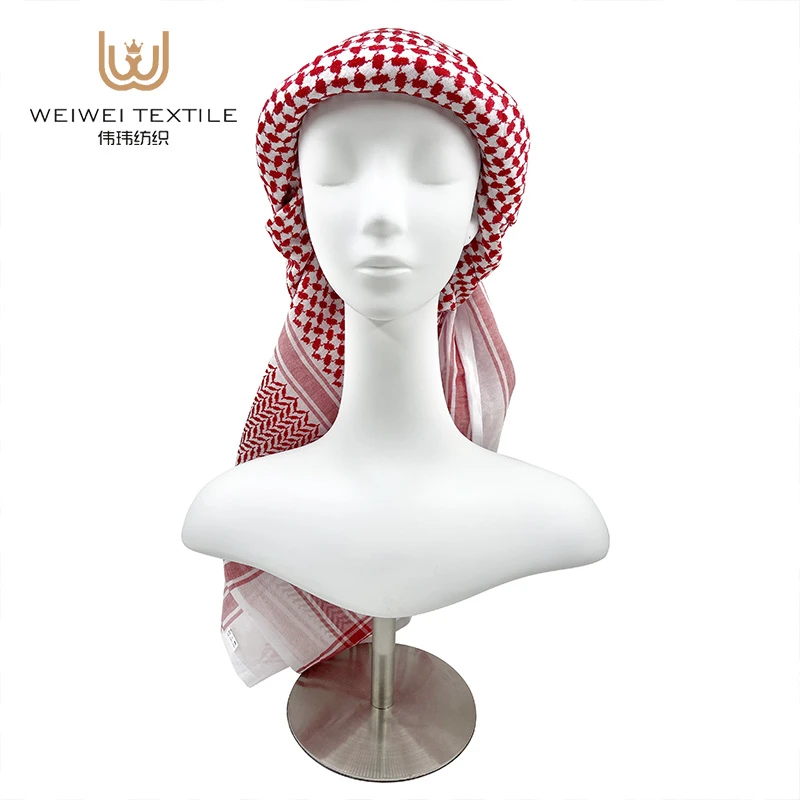
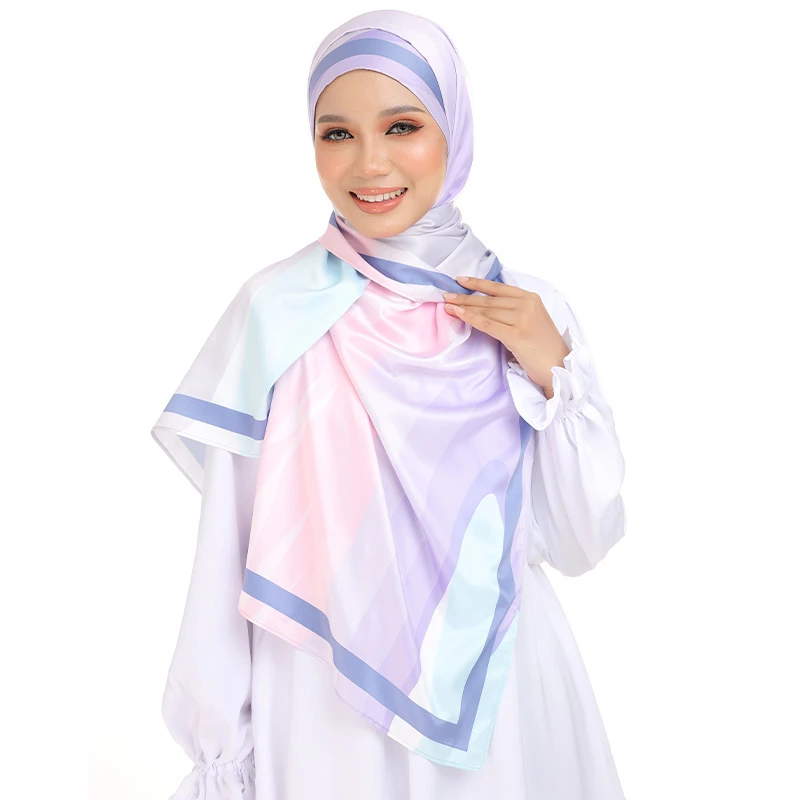
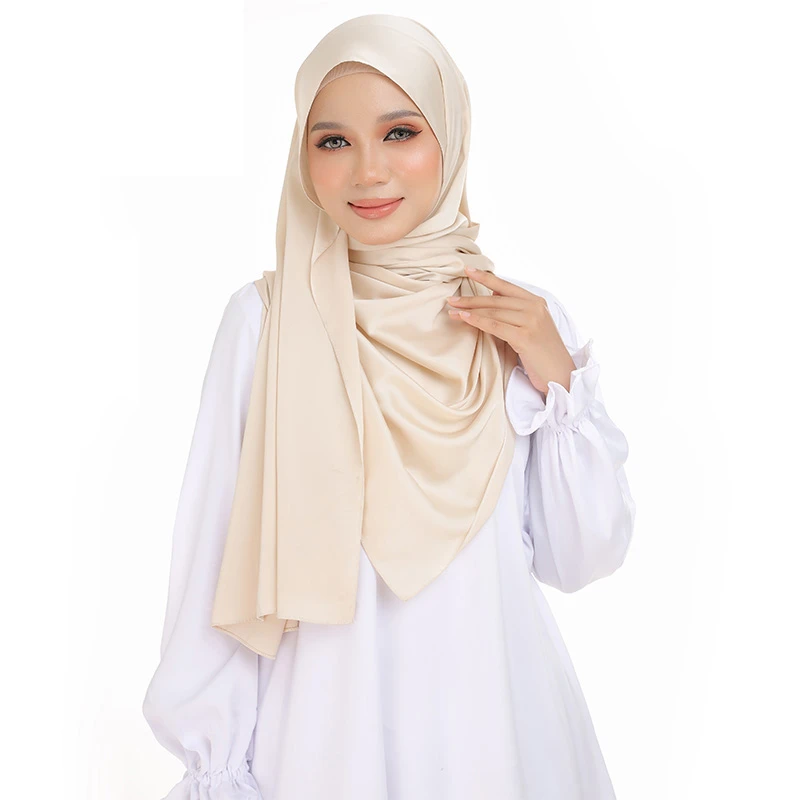
Now that your chiffon scarf is complete, it’s time to show it off! There are numerous ways to wear a chiffon scarf, making it a versatile accessory. You can drape it around your neck, tie it in a knot, wear it as a headband, or even use it as a belt. Experiment with different styles to find the one that complements your outfit best.
Conclusion
Creating your own chiffon scarf is not only a fun and fulfilling project, but it also allows you to express your personal style. With just a few materials and a bit of time, you can craft a beautiful accessory that elevates any outfit. So, gather your supplies, unleash your creativity, and enjoy the process of making a unique chiffon scarf that you can cherish for years to come. Whether you're skilled in sewing or a beginner, this project is approachable and rewarding. Happy crafting!
-
Traditional Tudung Designs in Malaysia
NewsJul.25,2025
-
The Spiritual Significance of Satin in Muslim Attire
NewsJul.25,2025
-
The Right Way to Wear Arab Scarves for Muslim Women
NewsJul.25,2025
-
Zikr Bead-Infused Cotton Voile for Continuous Remembrance
NewsJul.11,2025
-
The Cultural Significance of Tudung in Malaysia
NewsJul.11,2025
-
Satin Hijabs as an Expression of Faith in Daily Life
NewsJul.11,2025


