Your Trusted 24 Hours Service Provider!


Feb . 16, 2025 06:28 Back to list
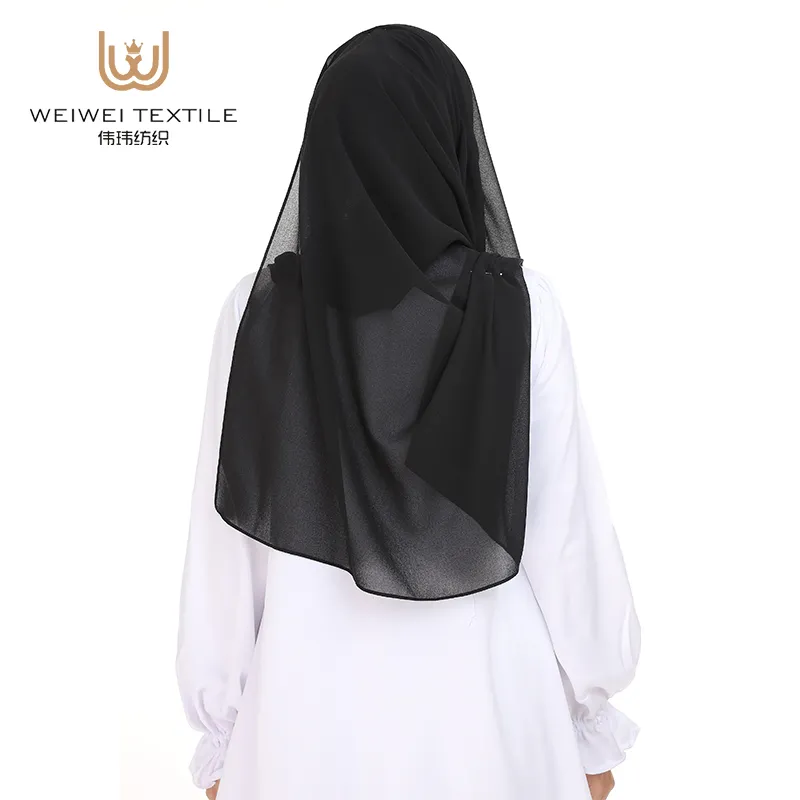
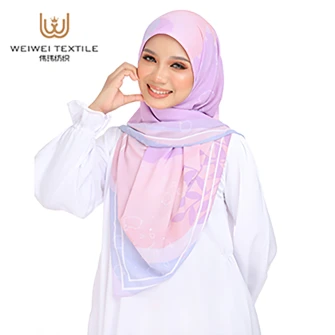
satin bandana scarf
Crafting your own satin head scarf can be a rewarding experience, blending creativity, style, and personal care into one fashionable accessory. This guide will walk you through the process step by step, ensuring you not only create a beautiful piece but also enhance your knowledge of fabric care and styling techniques.
With the basic scarf complete, consider adding embellishments for a personal touch. Hand-sewn pearls or beads can add elegance, while fabric paints allow for creative expression through patterns or initials. Always test any addition on a fabric scrap first to ensure compatibility. Styling the finished product offers endless opportunities. A classic look involves folding the scarf into a triangle and tying it under the chin, ideal for a vintage vibe. Alternatively, fold it into a band to wrap around your head, knotting it at the back or side for a sleek, modern appearance. Satin head scarves are also multifunctional—use them as bag handles, neckties, or even as chic belt alternatives. Caring for your satin accessory is vital to maintain its luxurious texture. Hand wash the scarf in cold water with a gentle detergent, avoiding harsh scrubbing. Lay it flat on a towel to air dry, as wringing might lead to deformation. Additionally, store it loosely folded to prevent creases. Creating your DIY satin head scarf not only results in a chic accessory but also empowers you with new skills and knowledge about fabrics and fashion. This unique process from start to finish allows for full customization, ensuring that your scarf truly reflects your personal style. This artisanal touch not only adds aesthetic value but also increases the piece's sentimental worth, making it a treasured addition to your wardrobe. By investing time and creativity into making your own satin head scarf, you position yourself as a conscious consumer who values individualized style. Such expertise not only enhances your personal wardrobe but also strengthens your credibility in the arena of fashion DIY, tapping into the ever-growing market of bespoke and sustainable fashion.
With the basic scarf complete, consider adding embellishments for a personal touch. Hand-sewn pearls or beads can add elegance, while fabric paints allow for creative expression through patterns or initials. Always test any addition on a fabric scrap first to ensure compatibility. Styling the finished product offers endless opportunities. A classic look involves folding the scarf into a triangle and tying it under the chin, ideal for a vintage vibe. Alternatively, fold it into a band to wrap around your head, knotting it at the back or side for a sleek, modern appearance. Satin head scarves are also multifunctional—use them as bag handles, neckties, or even as chic belt alternatives. Caring for your satin accessory is vital to maintain its luxurious texture. Hand wash the scarf in cold water with a gentle detergent, avoiding harsh scrubbing. Lay it flat on a towel to air dry, as wringing might lead to deformation. Additionally, store it loosely folded to prevent creases. Creating your DIY satin head scarf not only results in a chic accessory but also empowers you with new skills and knowledge about fabrics and fashion. This unique process from start to finish allows for full customization, ensuring that your scarf truly reflects your personal style. This artisanal touch not only adds aesthetic value but also increases the piece's sentimental worth, making it a treasured addition to your wardrobe. By investing time and creativity into making your own satin head scarf, you position yourself as a conscious consumer who values individualized style. Such expertise not only enhances your personal wardrobe but also strengthens your credibility in the arena of fashion DIY, tapping into the ever-growing market of bespoke and sustainable fashion.
Perv:
Latest News
-
Traditional Tudung Designs in Malaysia
NewsJul.25,2025
-
The Spiritual Significance of Satin in Muslim Attire
NewsJul.25,2025
-
The Right Way to Wear Arab Scarves for Muslim Women
NewsJul.25,2025
-
Zikr Bead-Infused Cotton Voile for Continuous Remembrance
NewsJul.11,2025
-
The Cultural Significance of Tudung in Malaysia
NewsJul.11,2025
-
Satin Hijabs as an Expression of Faith in Daily Life
NewsJul.11,2025